Using the Sight-Sim™ App
Sight-Sim™ will launch full screen.
For you to see the Sight-Sim™ images accurately, you should sit at approximately 60 cm from your computer screen.
Press the ‘Start’ button.
1. Setup Screen
For Sight-Sim™ to make the images accurate, it needs to know the size and quality of your computer screen. You can do this using a standard-sized card, for example, a bank card or ID card.
Place the card on your screen with the top left corner of the card aligned with the white lines in the top left of the black box on the screen. Use your mouse to click the black box at the location of the bottom-right corner of the card. This will create a blue box the same size as your card in the black box.
Click ‘Next’.
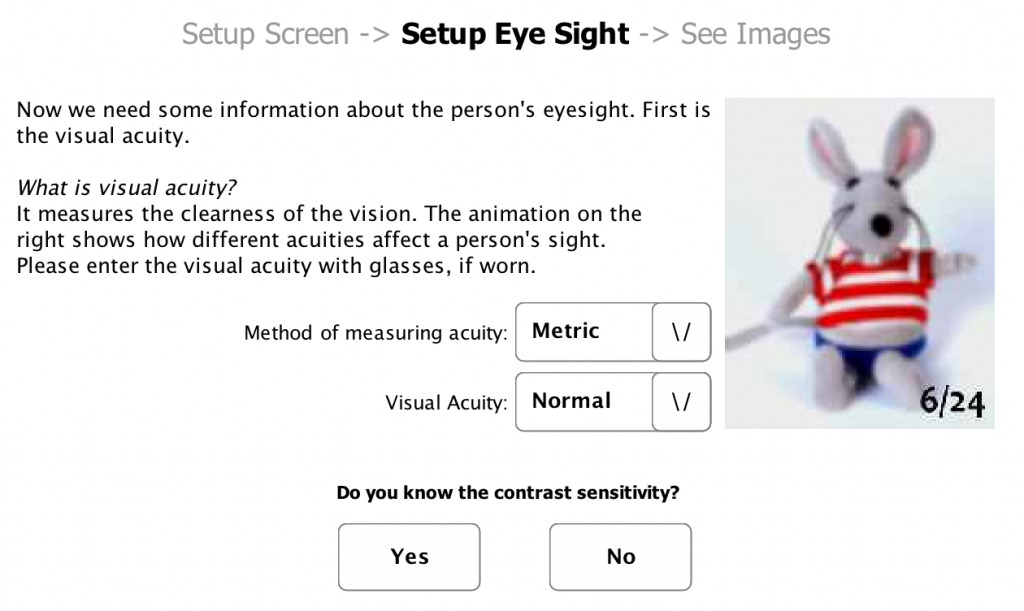
2. Setup Eye Sight
Here you can enter measures of vision which describe the level of vision you would like to see in the pictures. These numbers are called visual acuity and contrast sensitivity. These numbers might be in letters from an eye doctor. Sight-Sim™ will work without you entering visual acuity and/or contrast sensitivity. You can also change the numbers you enter later on.
Visual acuity tells you the clearness of vision. The methods for measuring visual acuity are:
| Method of measuring visual acuity | Example of Visual Acuity | |
| Metric | 6/60 | Also called ‘Snellen’ visual acuity |
| Imperial | 20/120 | This method is also called Snellen and is often used in the USA |
| logMAR | 1.00 | Smaller numbers mean better vision |
| Decimal | 0.10 | Larger numbers mean better vision |
Use the top box to select the method that the visual acuity was measured in (unit). Use the second box to select the visual acuity value (number).
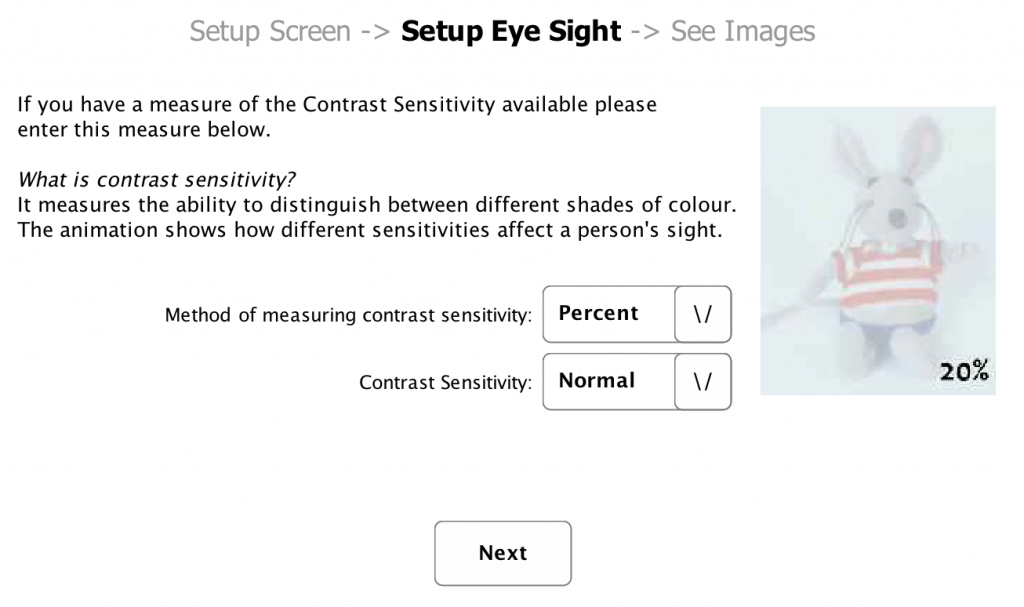
You can also enter a contrast sensitivity value. Contrast sensitivity tells you how many shades of colour someone can see.
If you know the contrast sensitivity, click ‘Yes’. If not, click ‘No’.
If you click the ‘No’ button you will be directed to a new page. Move onto the next step in these instructions.
Contrast sensitivity can be measured in two ways:
| Method of measuring contrast sensitivity | Example of Contrast Sensitivity | |
| Percent | 45% | Large numbers mean better vision |
| Log | 0.35 | Smaller numbers mean better vision |
Use the top box to select the method of measuring contrast sensitivity (unit). Use the second box to select the contrast sensitivity value (number).
Then click the ‘Next’ button.
3. See Images
This is an instruction page. Once you have read the instructions, click ‘Show Pictures’.
4. Image Viewing Screen
Sight-Sim™ is designed to show you what children with poor vision might find difficult in some areas of everyday life.
These areas are:
- Communication
- Knowledge
- Mobility
To see Sight-Sim™ images, press the ‘Show Images’ button. The original picture is shown on the left. The picture showing what a visual impairment person would see is on the right. Use the arrows on the right and left edges of the screen to navigate through the pictures.
To look at different images, move your mouse to ‘More Pictures’ at the top of the screen. This opens the top menu bar. Here you can select another area to explore.
To change the visual acuity and contrast sensitivity values, move your mouse to ‘Change Acuity and Contrast’ at the bottom of the screen. This opens the bottom menu bar. You can change visual acuity and contrast sensitivity at any time.
Using your own Pictures
If you want to use your own images to understand what a visually impaired person would see, select ‘Browse My Pictures’ from the top menu bar. Selecting this button opens a window where you can select images from a folder on your own computer. Once you have found your picture folder, press the ‘Open’ button. To see your images, press the ‘Show Images’ button in the pop-up menu.
Exiting the program
To exit Sight-Sim™, close the window.
Now you have downloaded Sight-Sim™ to your computer, you can use it whenever you would like to see how the world appears to a visually impaired person.